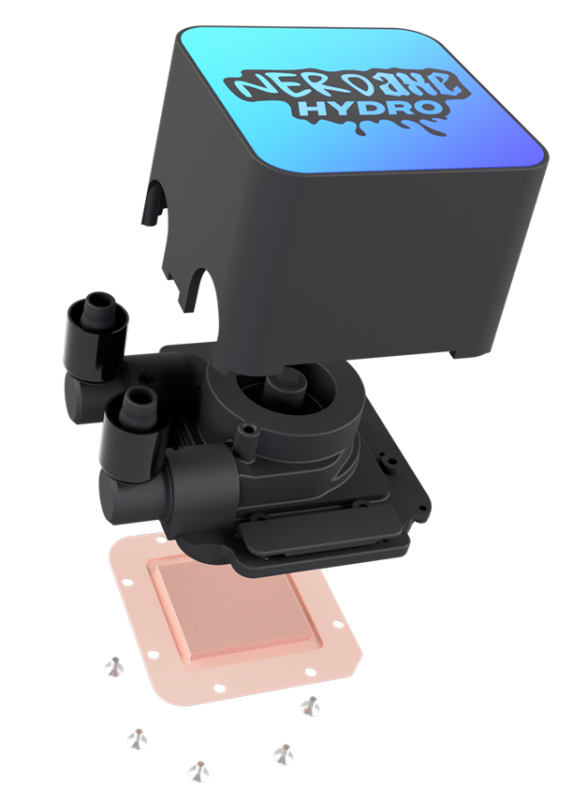
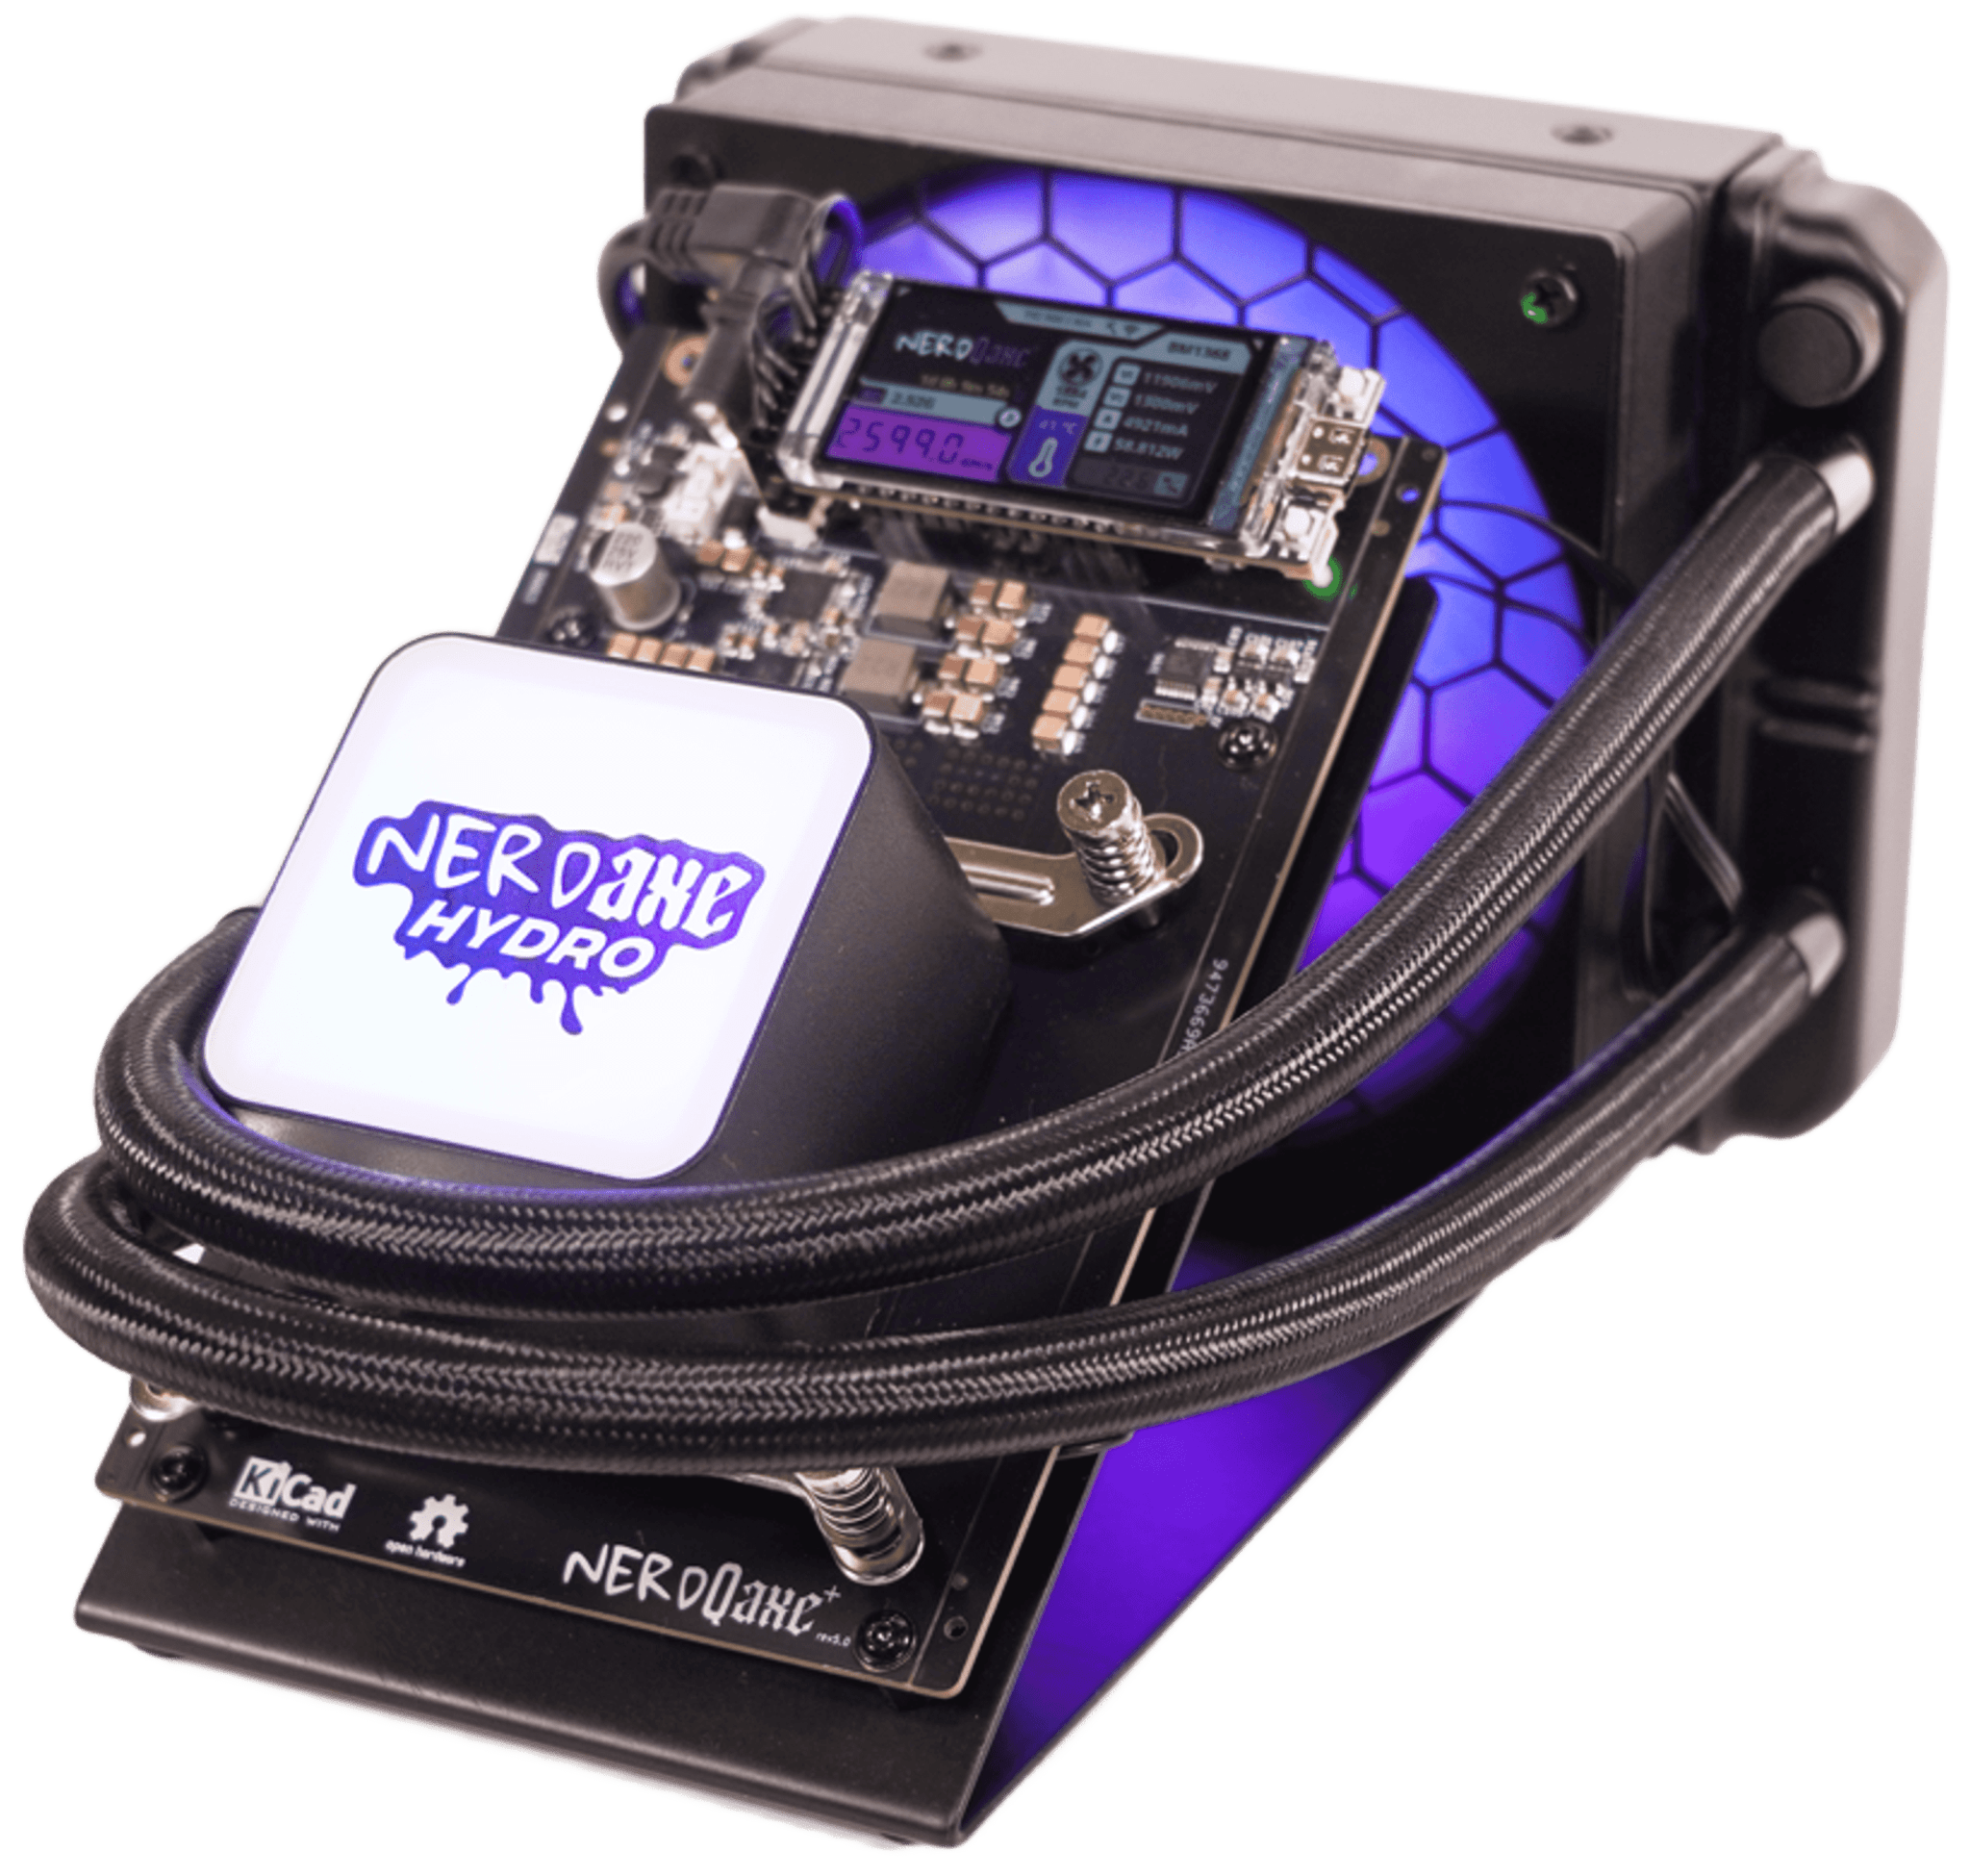
Quad-Chip Design
Powered by four BM1368 ASIC chips.
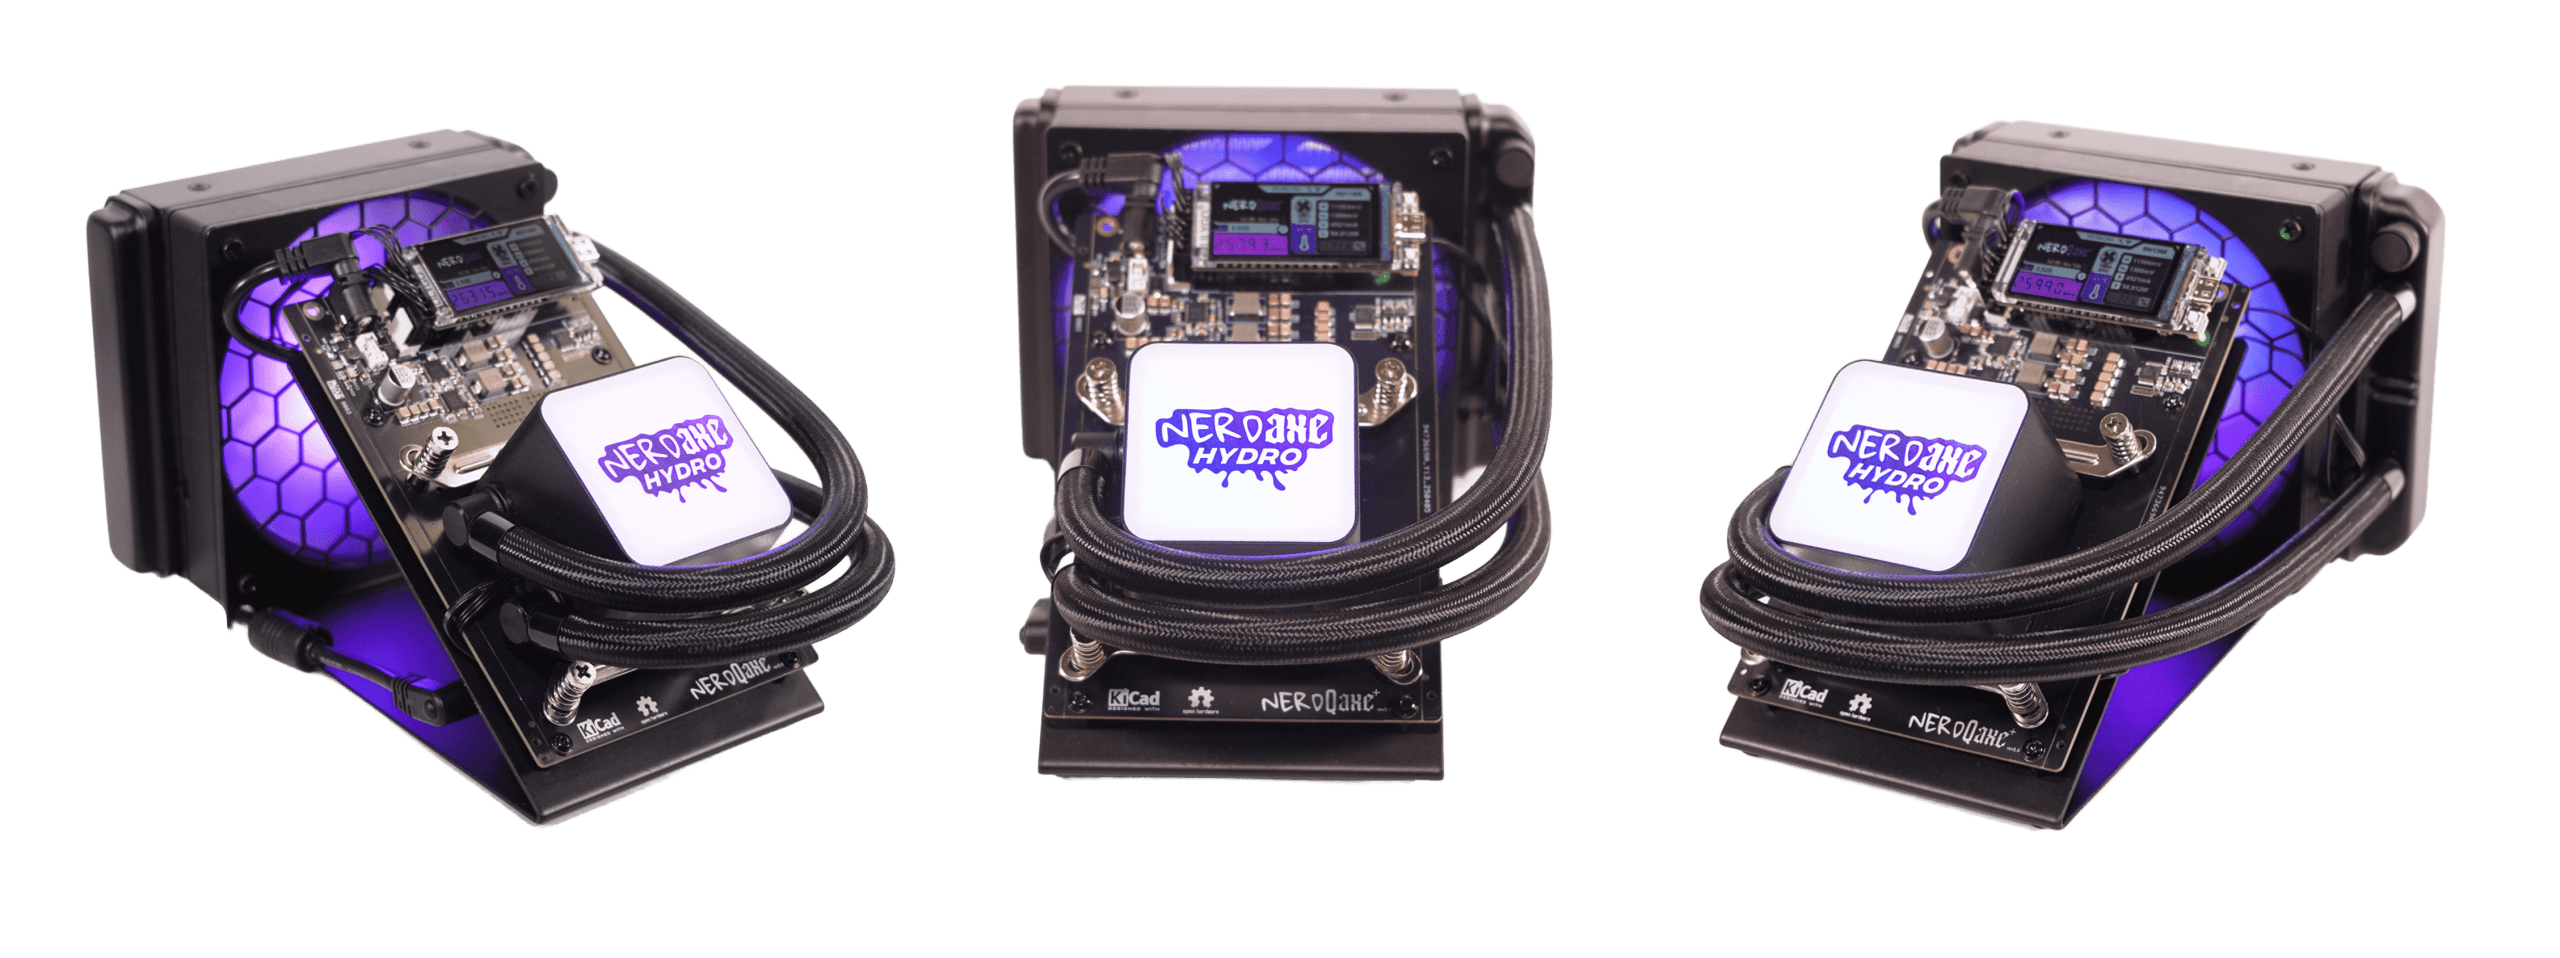
Quiet Mining
Adjustable fan speed for minimal noise.
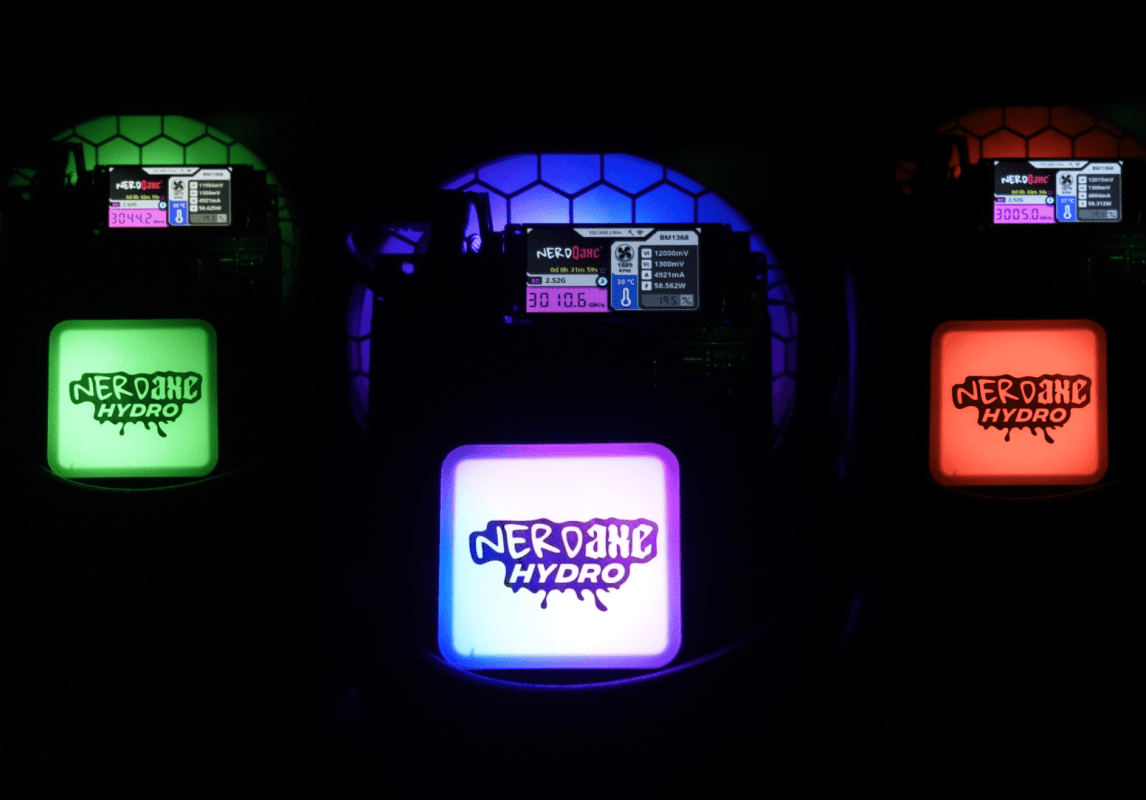
2.5 TH/S
Achieve a powerful home mining hashrate.
20J/TH
High energy efficiency, low power consumption.
Quad-Chip Design
Powered by four BM1368 ASIC chips.
Quiet Mining
Adjustable fan speed for minimal noise.
2.5 TH/S
Achieve a powerful home mining hashrate.
20J/TH
High energy efficiency, low power consumption.